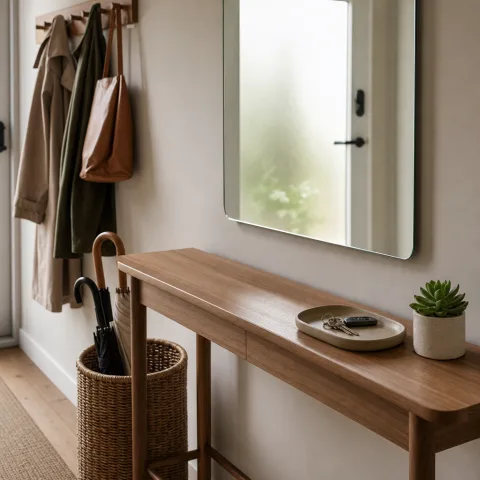
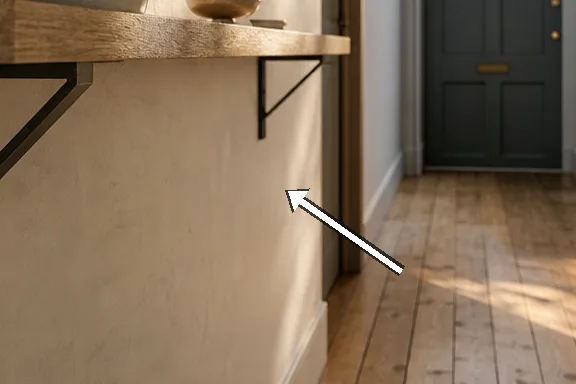
Our hallway is narrow: 85 centimetres between the front door and the stair wall, which left little room for freestanding furniture but plenty of potential for a slim shelf. We wanted something that read as part of the architecture rather than a bulky piece of furniture, so a pared-back oak board, supported on two discreet brackets, was the obvious solution. Oak brought the warmth and durability we wanted; two well-rated brackets offered the symmetry and load distribution required for everyday items. We measured for door swings, visual balance with the stair string, and socket positions before ordering materials, and we chose oak that was kiln-dried to limit later movement. The work involved basic carpentry and a little patience rather than specialist joinery skills, and could be completed in a day or two with standard tools. This field report records the practical decisions, minor setbacks and finishing choices so you can replicate the approach with confidence.
 Save
Save
 Save
Save
 Save
Save
Common mistakes to avoid
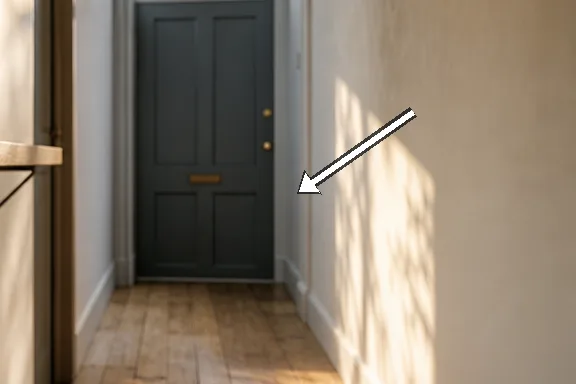
Ignoring the door swing
Placing a shelf that encroaches on a door or cupboard path reduces functionality. Measure clearances from both sides and test with a folded tape to simulate the route of doors and people. Failing to check this makes the build awkward and forces compromises after fixing.
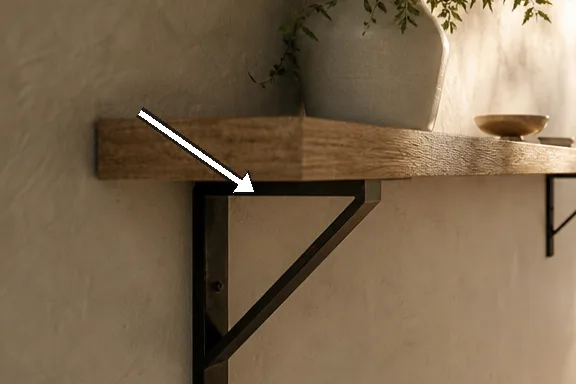
Under-specifying the fixings
Relying on short screws or general-purpose plugs risks detachment under load. Use a stud-finder, long screws into timber studs or chemical anchors for plasterboard to ensure the brackets stay secure. Taking this step protects the shelf, the wall and anything placed on the board.
Over-finishing the surface
Applying a thick varnish changes the tactile warmth and patina of oak and can highlight imperfections. We prefer a thin, penetrating oil applied in two light coats to keep the surface natural and repairable. A heavy finish also complicates small future repairs and tends to look out of place in a calm, narrow space.