Every flat with a staircase has an under-stair void. Most are blocked off with a flimsy panel and forgotten. Ours was the same for two years. Then we measured the wedge, drew the door on graph paper, and over a long weekend made a single-door cupboard that has held more useful things than any other six square feet of the flat.
Why a custom door beats a bought one
Under-stair voids are wedge-shaped, not rectangular. Bought doors are rectangular. Fitting a rectangular door into a wedge means either a small door that wastes a third of the void or a large door that needs a constructed sub-frame to make the void rectangular. Both are common; both are wrong. A custom door follows the wedge — full height at the tall end, full slope along the top — and uses every cubic centimetre of the void.
 Save
Save
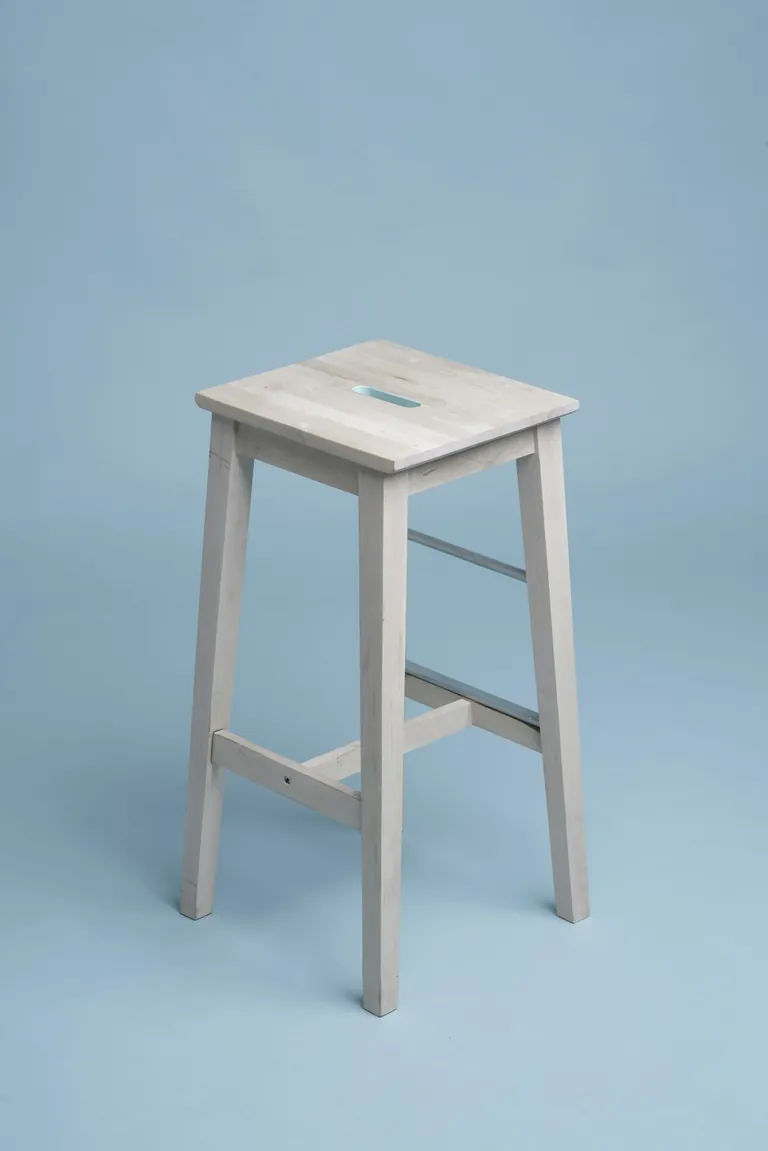
The other case is for the door's character. A custom-built door, three pine panels glued and battened, with a hand-shaped oak handle, looks like part of the flat. A bought door looks like it was bought. In a small flat, the texture difference is significant. Visitors notice the door without knowing why, the same way they notice a hand-thrown bowl without naming why.
What lives inside
Three shelves at decreasing depths follow the slope. Top shelf, fifteen centimetres deep, holds tinned tomatoes and bouillon stock. Middle shelf, twenty-five centimetres, holds the toolbox, a hand vacuum, a small first-aid kit. Bottom shelf, the full depth, holds the upright vacuum, a folded ironing board, and three pairs of shoes that need scraping clean before going in the proper shoe rack. Total volume: more than the broom cupboard above the washing machine, which we now use for towels because the under-stair cupboard absorbed everything else.
 Save
Save
“Hinges on the tall side, not the slope side. Mathematically possible; practically miserable.” — Theo
- Measure the wedge in three places — top, middle, bottom of the slope. Plaster walls bow.
- Make the door 2 mm short on every dimension. Pine swells in winter; the gap is your insurance.
- Internal shelves are removable, supported on dowels. Holes drilled with a 5 mm bit, three positions per shelf.
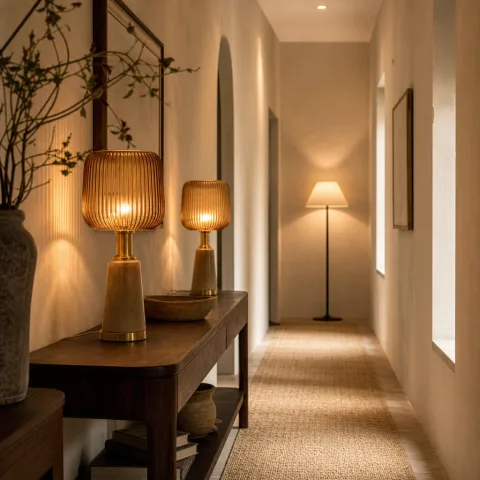
- A small interior light on a magnetic switch makes the cupboard usable in the dark of a hallway.
What goes wrong on the first attempt
The first cupboard we built had a door that swelled shut every August. We had cut to exact measurements in February, when the pine was at its driest. By summer the wood had absorbed about three percent of its weight in water and had grown by two millimetres in every direction. The door jammed in the frame and would only open with a knee against the wall. The fix was sanding two millimetres off the leading edge — a fifteen-minute job, but a humiliating one to need to do.
The second mistake was fitting the hinges before painting. Brass hinges look beautiful unpainted; they look beautiful with two coats of eggshell on top, then two months later you cannot open the door without flexing the paint film off the hinge knuckle. Always fit, mark, remove, paint, re-fit. The extra hour saves the door's appearance for a decade.
Third mistake: not accounting for the door's swing arc. Our first under-stair door swung wide and hit a radiator pipe that ran along the hallway. We had to install a small magnetic catch to hold the door at sixty degrees instead of ninety, which works but feels apologetic. Measure the swing arc from the hinge centre, not from the door edge. The hinge centre projects two centimetres further than you think.
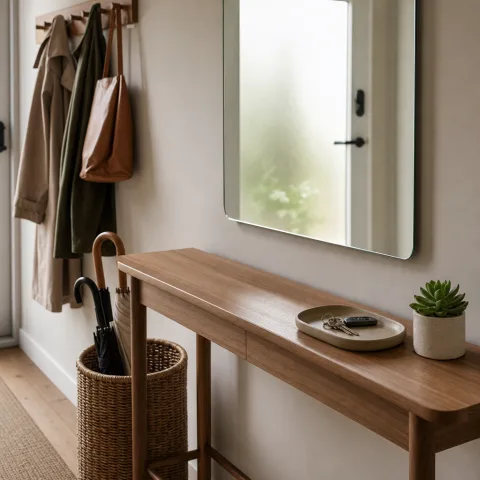
How a small door changes a hallway
Hallways with under-stair voids closed by a flush flat panel feel like hallways with secret doors. The eye does not register the panel as a door because there is no architecture inviting it to. Hallways with a proper hung door — even a small one — read as flats with one more room than they actually have. There is a small psychological permission in seeing a door: the eye expects a thing behind it. Even if the thing is a vacuum and twenty cans of tomato, the door promises a place.
Visitors who have not been in our flat before always pause at the under-stair door. Half of them think it is a children's playhouse door; the other half assume it leads to a wine cellar. Both reactions are flattering. Real wine cellars are rare in apartment buildings; storage cupboards with character are rarer.
How to do it
Measure four times.
Once with a tape, once with a long ruler against a spirit level, once with a piece of cardboard cut to fit, once with the cardboard rotated to confirm. The cardboard is the most reliable measurement.

Cut the door panels.
Three lengths of 18 mm pine, glued edge-to-edge, clamped overnight. Plane the joins flat the next morning. The result is a single panel that reads as a single piece of wood, not three.
Cut the wedge profile.
Mark the slope on the panel with a long ruler. Cut with a circular saw guided by a clamped straight-edge. Sand the cut edge to 220 grit; this edge is visible from inside.
Hinges, handle, paint.
Two brass butt hinges on the tall side. Hand-shaped oak handle, screwed from the inside. Two coats of eggshell in the same colour as the surrounding wall — the door disappears.
Frequently asked
Can I do this in a rental?
What about insulation?
Hinges from a hardware shop or vintage?
What if my under-stair void has a slope toward the floor?
Can I do this without a circular saw?
How do I match the door colour to the wall?
What about ventilation?
In closing
The cupboard has been in service for fourteen months. It absorbed three other storage problems we did not realise we had. The flat now stores the things a flat ought to store and looks half a square metre bigger because we cleared the surfaces those things used to live on. Under-stair voids are not wasted space; they are unfinished space.